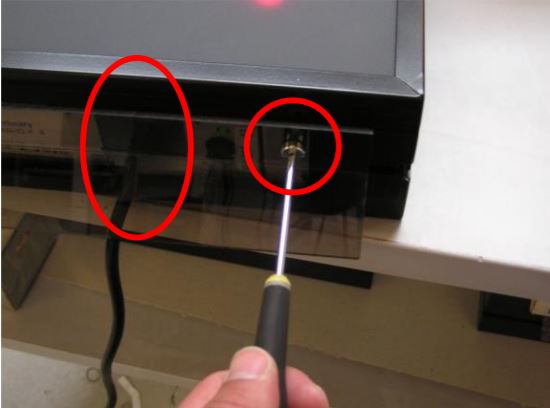
1. Locate the power inled in the bottom of the scoreboard frame.
2. Remove the cover and disconnect the power cord.
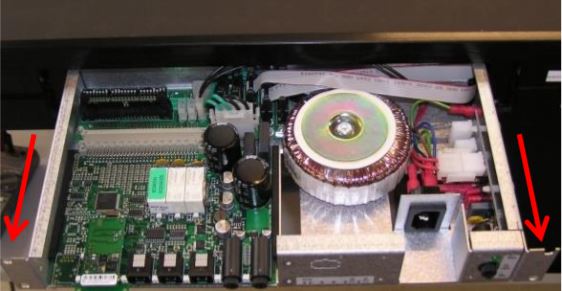
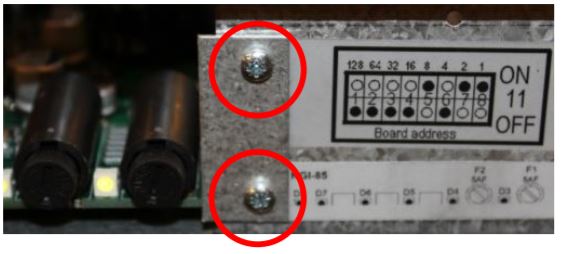
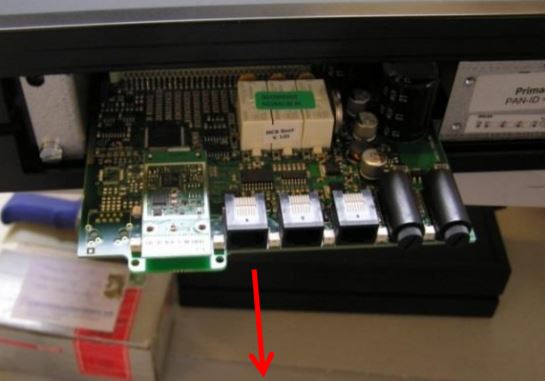
3. Remove the retaining plate holding the NGMCB controller in place.
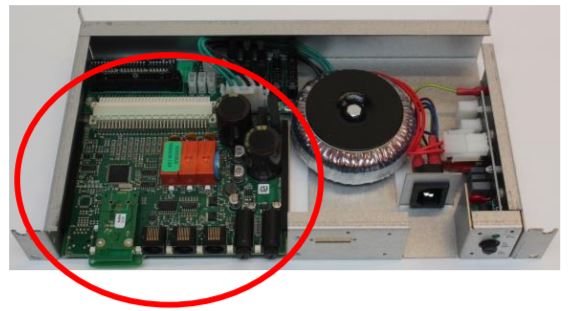
4. Gently pull the NGMCB controller out of the scoreboard.
5. Install the new NGMCB controller and reassemble the scoreboard.
2. Retransmitting the Zone information to the scoreboard
This part will only concern you if multiple scoreboards are installed within 100 meters of each other.
When the software of the scoreboard has been updated, all settings will be set to default. Therefore the Zone information has to be retransmitted from the NAUCON-1000 control panel to the scoreboard.
Turn on the control panel.
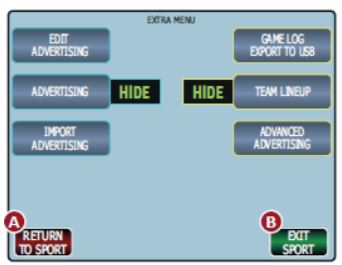
Exit the sport.
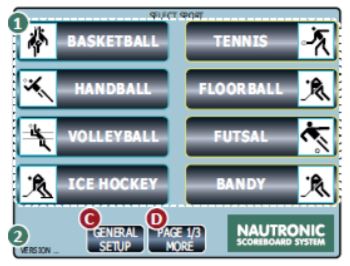
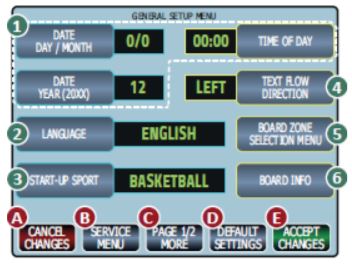
Go to the General Setup.
Go to the Service Menu, password is: 1166.
Go to page 3/7 and enter Board Zones setup.
Press the Accept button. The control panel will now transmit the Zone data to the scoreboard.